
Comb Switch
User Guide
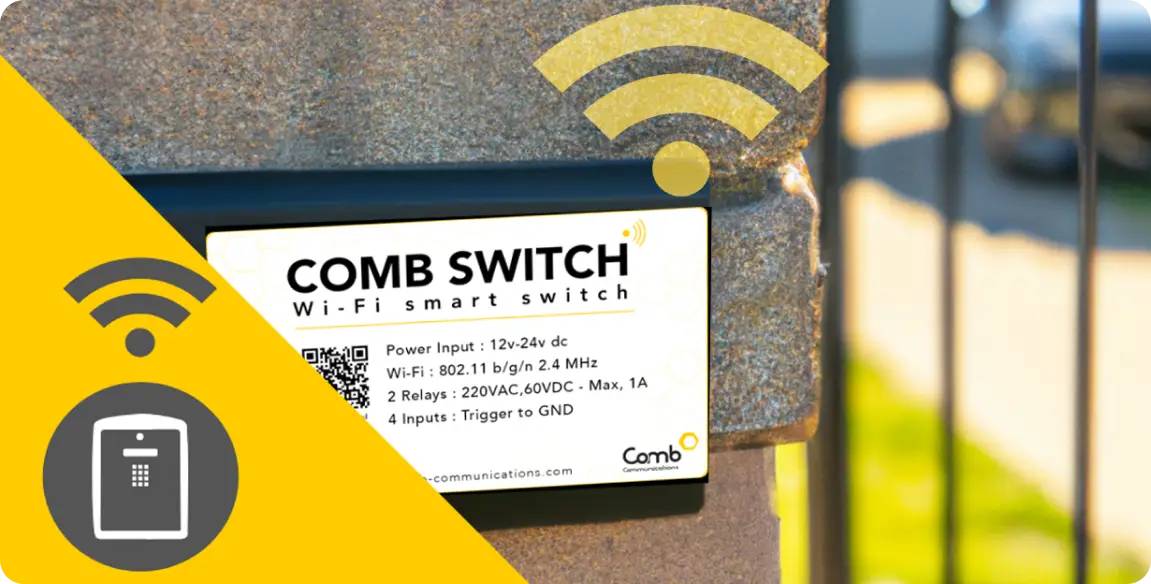
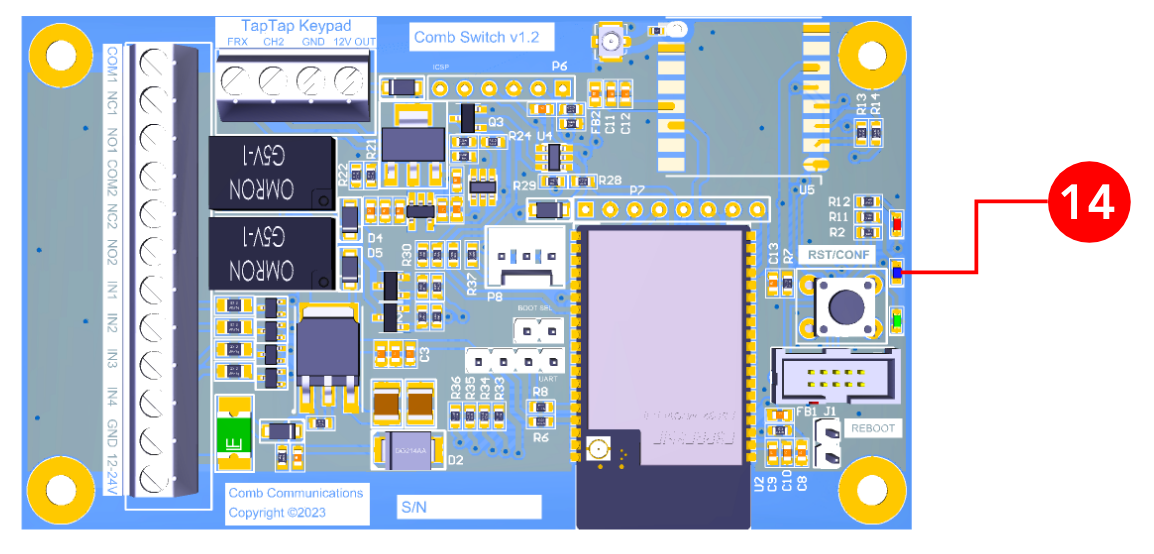
The Comb Switch is a device that utilises WiFi and comes equipped with two relays, a TAP TAP interface, and four inputs. It seamlessly integrates with the Comb Portal and MyComb mobile application, offering complete compatibility.
INITIAL CONFIGURATION
 |
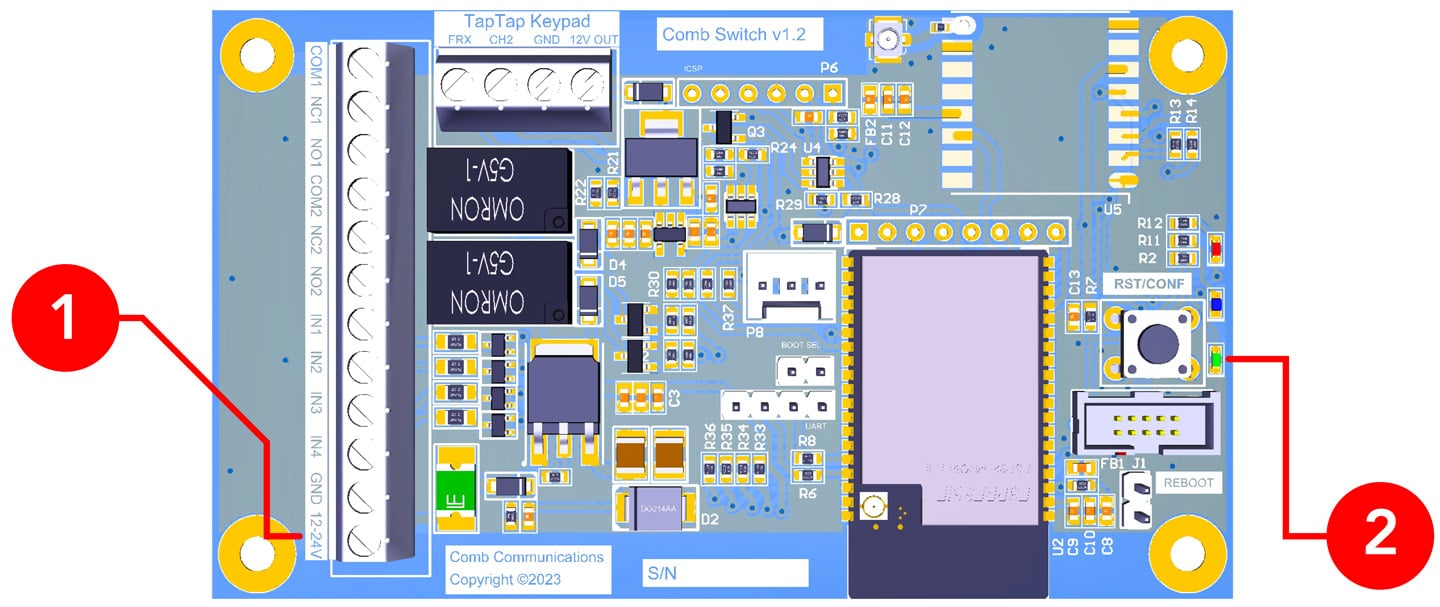
Connect a 12V to 15V DC power supply to the device. |
 |
Power on the Comb Switch (The Green LED will turn on). |
 |
The Comb Switch will enter the Access Point (AP) mode for 5 minutes. |
 |
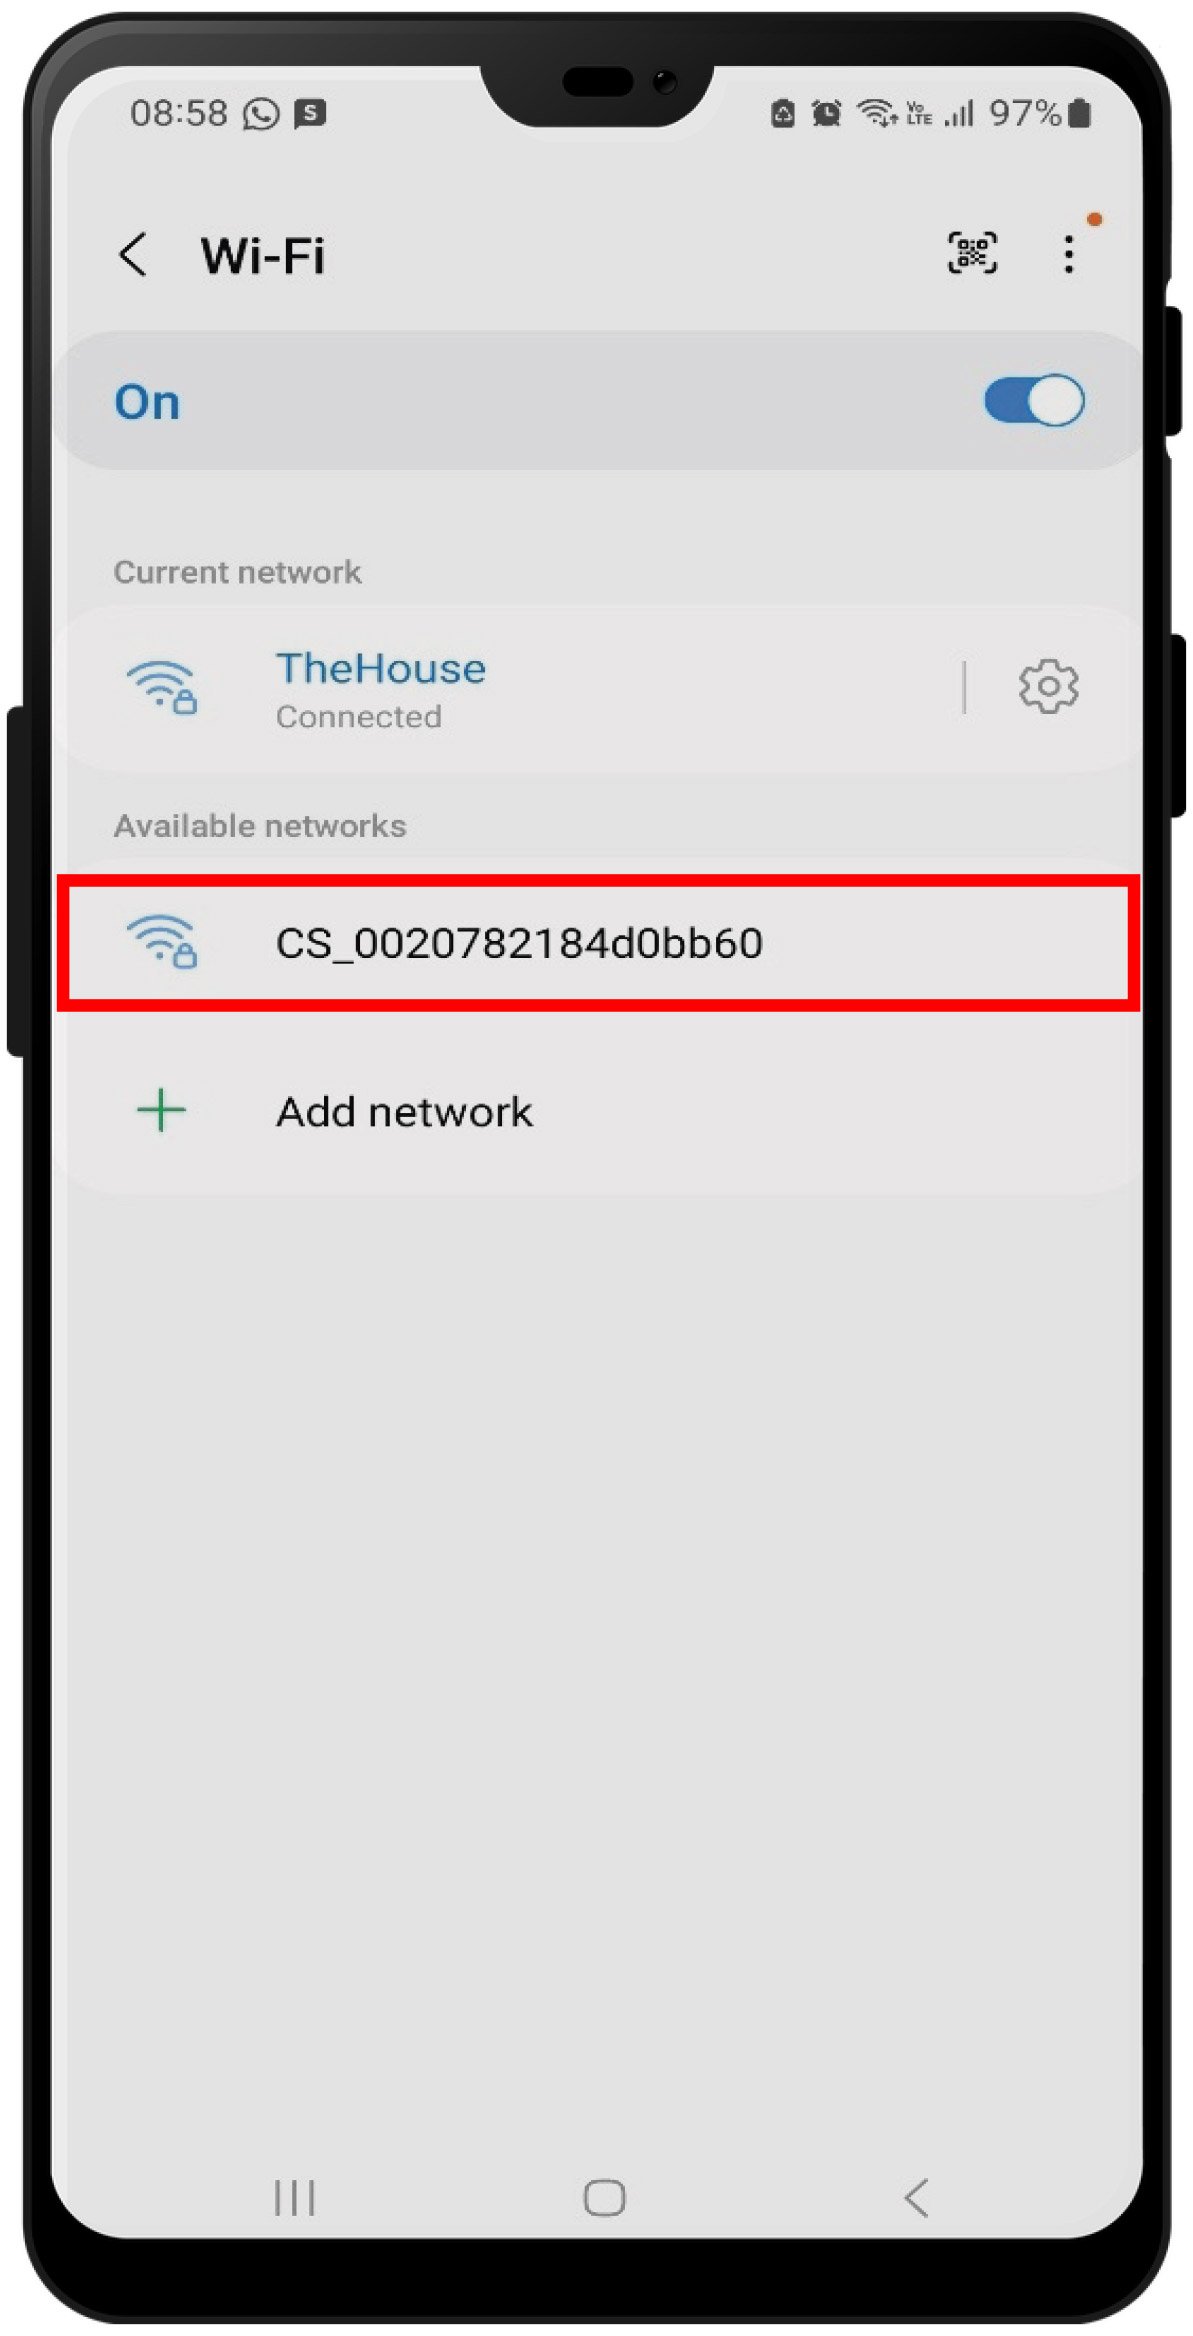
Open the Wifi settings page on a mobile phone. |
 |
Open the Scan for available Wi-Fi access points. The Comb Switch will look like CS_0020xxxxxxxxxxxx. |
 |
Select the Comb Switch Access Point. |
 |
When requested for a password, enter “comb1234”. |
 |
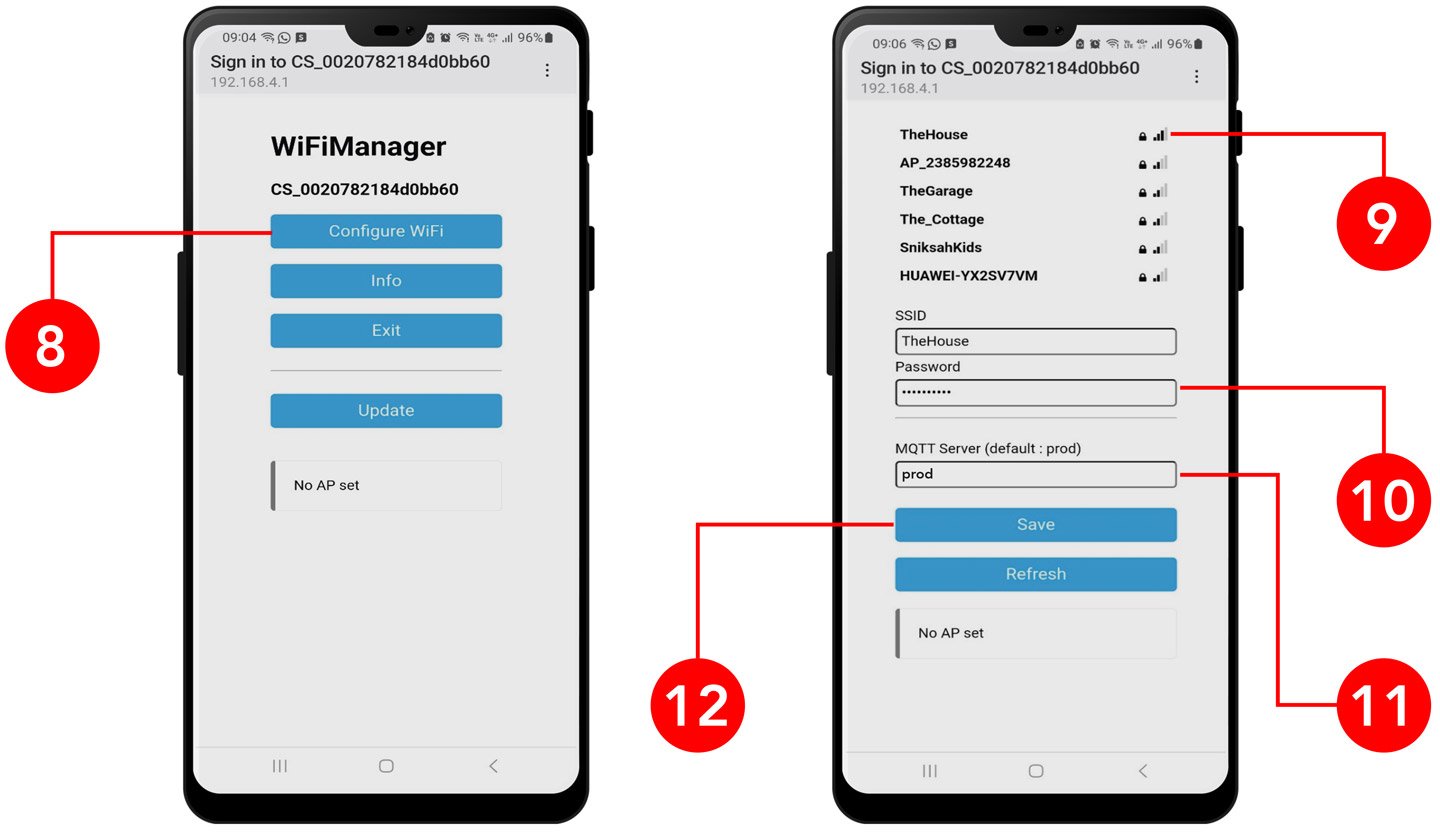
The Wi-Fi Manager screen will open, click on the Configure Wi-Fi button. *If the Wi-Fi Manager screen does not automatically open, using the device connected to the Comb Switch click on the following link (http://192.168.4.1) to manually navigate to the Wi-Fi Manager screen. |
 |
Select the SSID (Wifi network) that you will be connecting your Comb Switch to. |
 |
Enter the password for the selected SSID (Wi-Fi network). |
 |
Ensure the Comb Server is set to “prod” |
 |
Click on the “Save” button. |
 |
The Comb Switch device will automatically reset and use the selected Wi-Fi credentials to connect to the network. |
 |
Connectivity Status.
The middle (Blue) LED will start to be active.
|
 Solid On
 Fast Flash
 Medium Flash: No Wi-Fi.
 Slow Flash
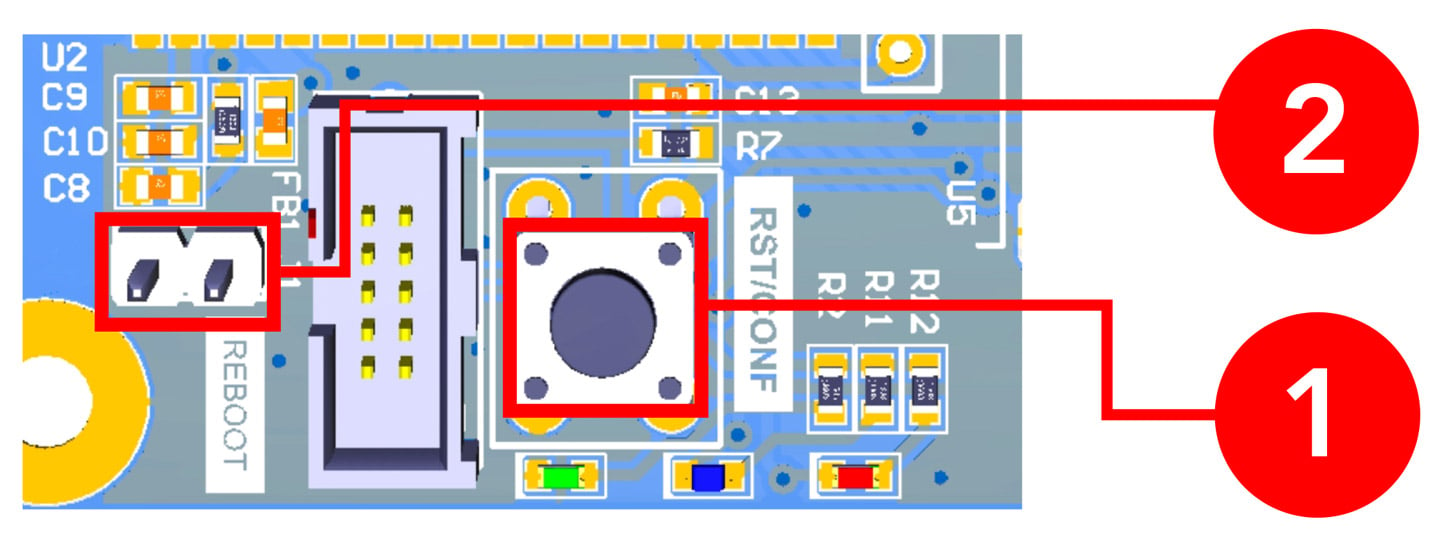
REBOOTING THE COMB SWITCH
|
Press this button promptly to complete a “Software reboot” or hold this button down for 5 seconds to complete a “Factory reset” (reset Wi-Fi credentials.) |
|
Jump (Create contact between) the “Reboot” pins to complete a Hard Reboot on the Comb Switch device. |
COMB PORTAL CONFIGURATION
As the Comb Switch is a standalone device, the device requires its own license to be enabled.
Enabling the Comb Switch license
|
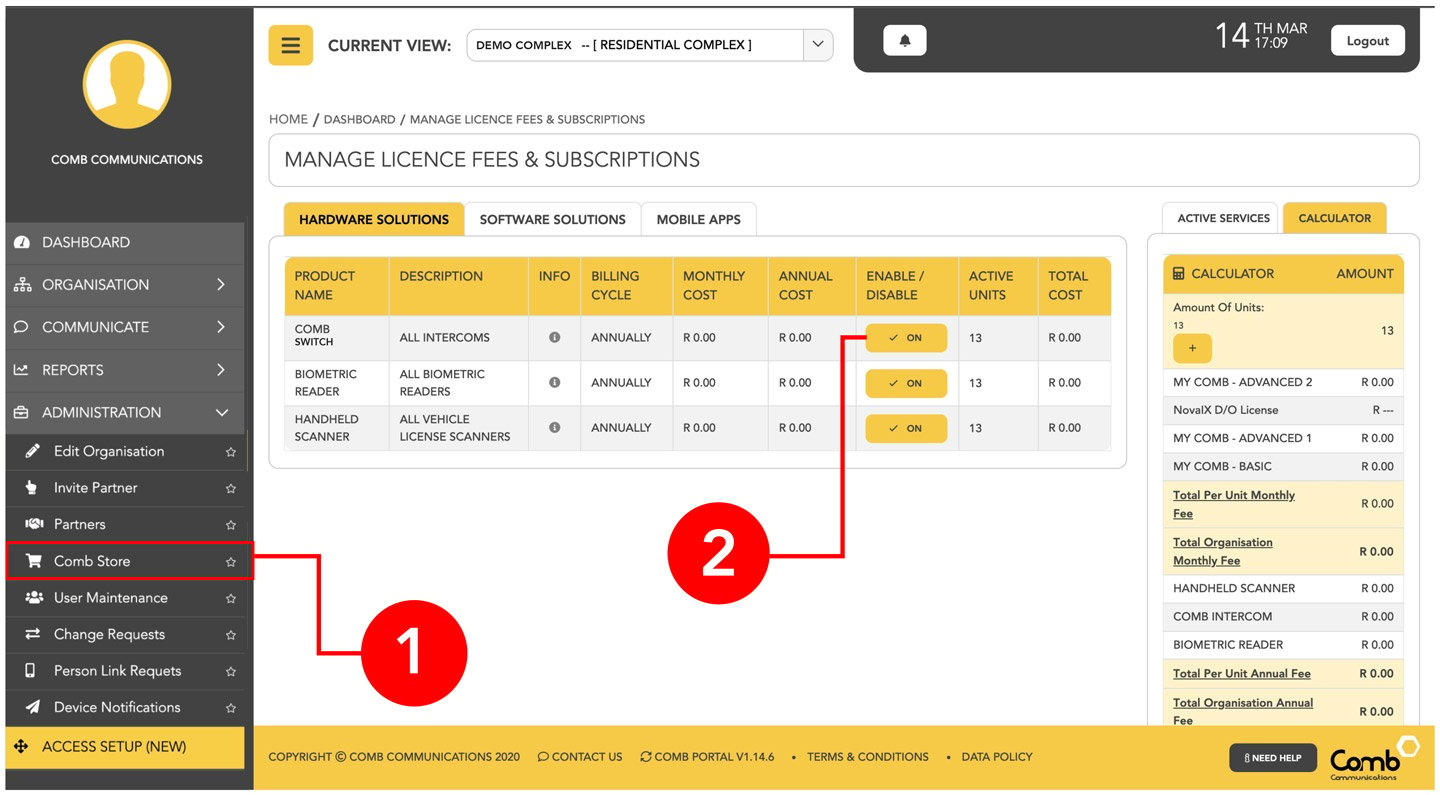
Log on to the Comb Portal and navigate to the “Comb Store” from the side menu (ADMINISTRATION -> Comb Store) |
|
Select the “HARDWARE SOLUTIONS” tab and enable the Comb Switch license. |
|
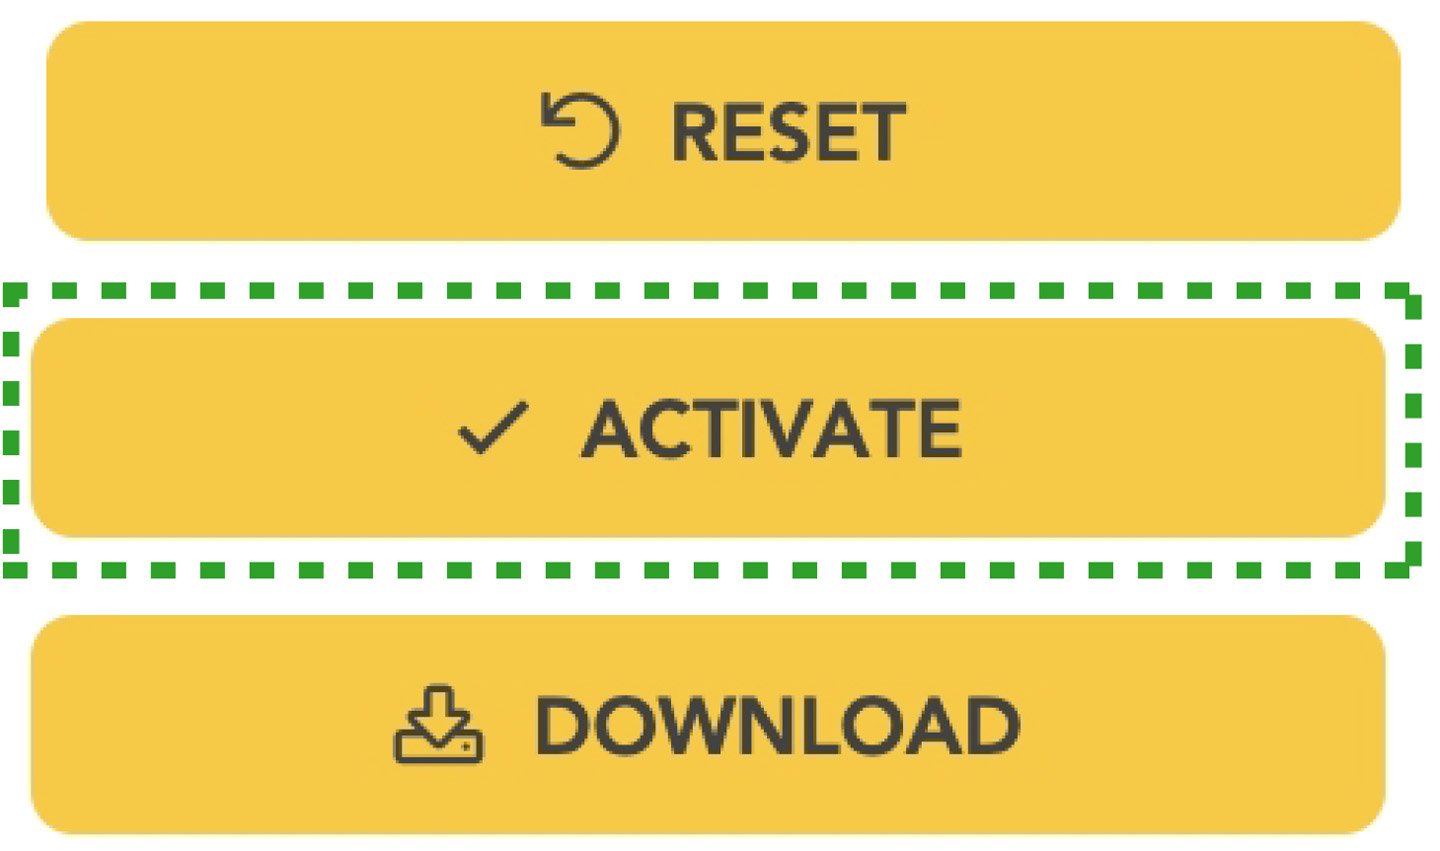
Click “Activate” button to apply your changes. |
Adding the Comb Switch device
|
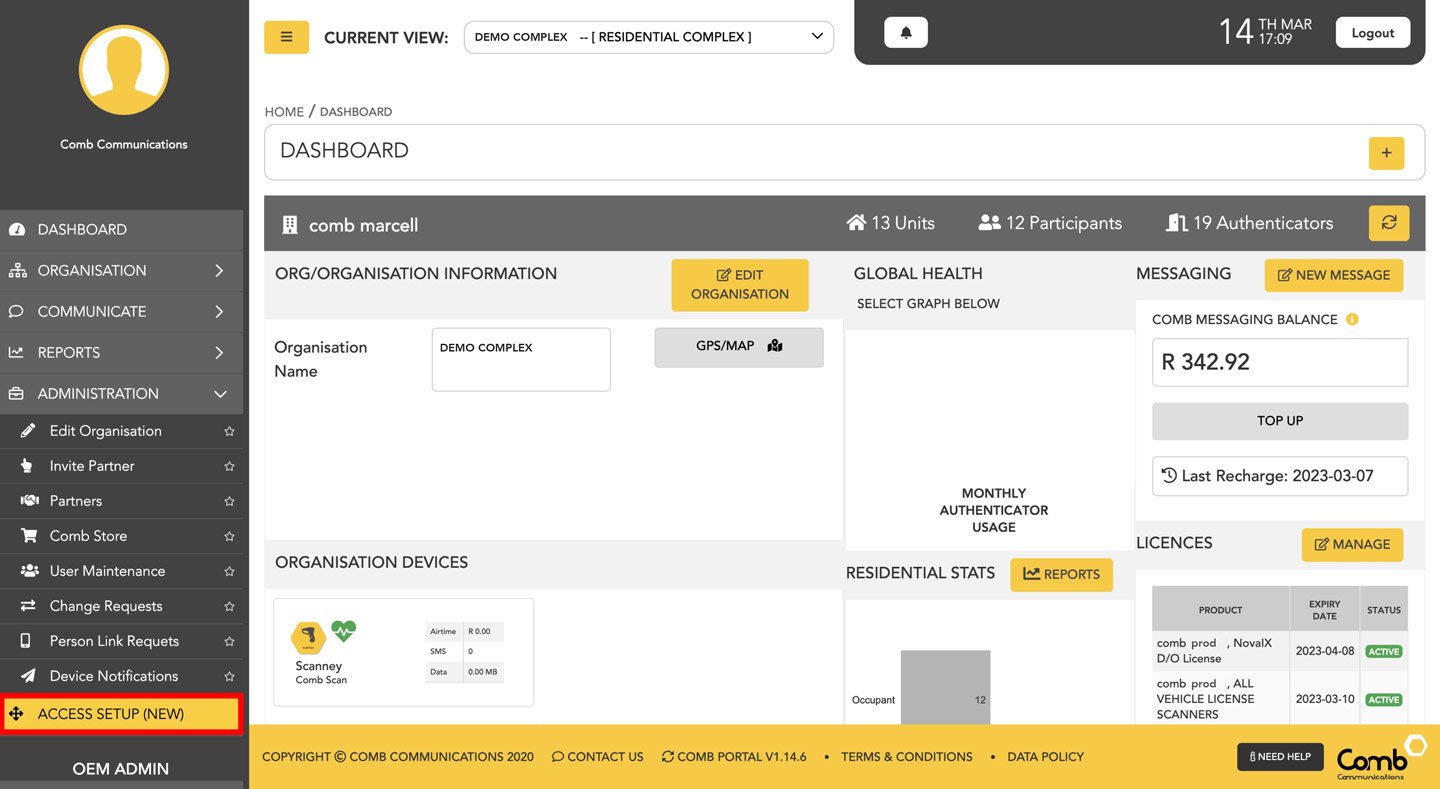
Select Access Setup. |
|
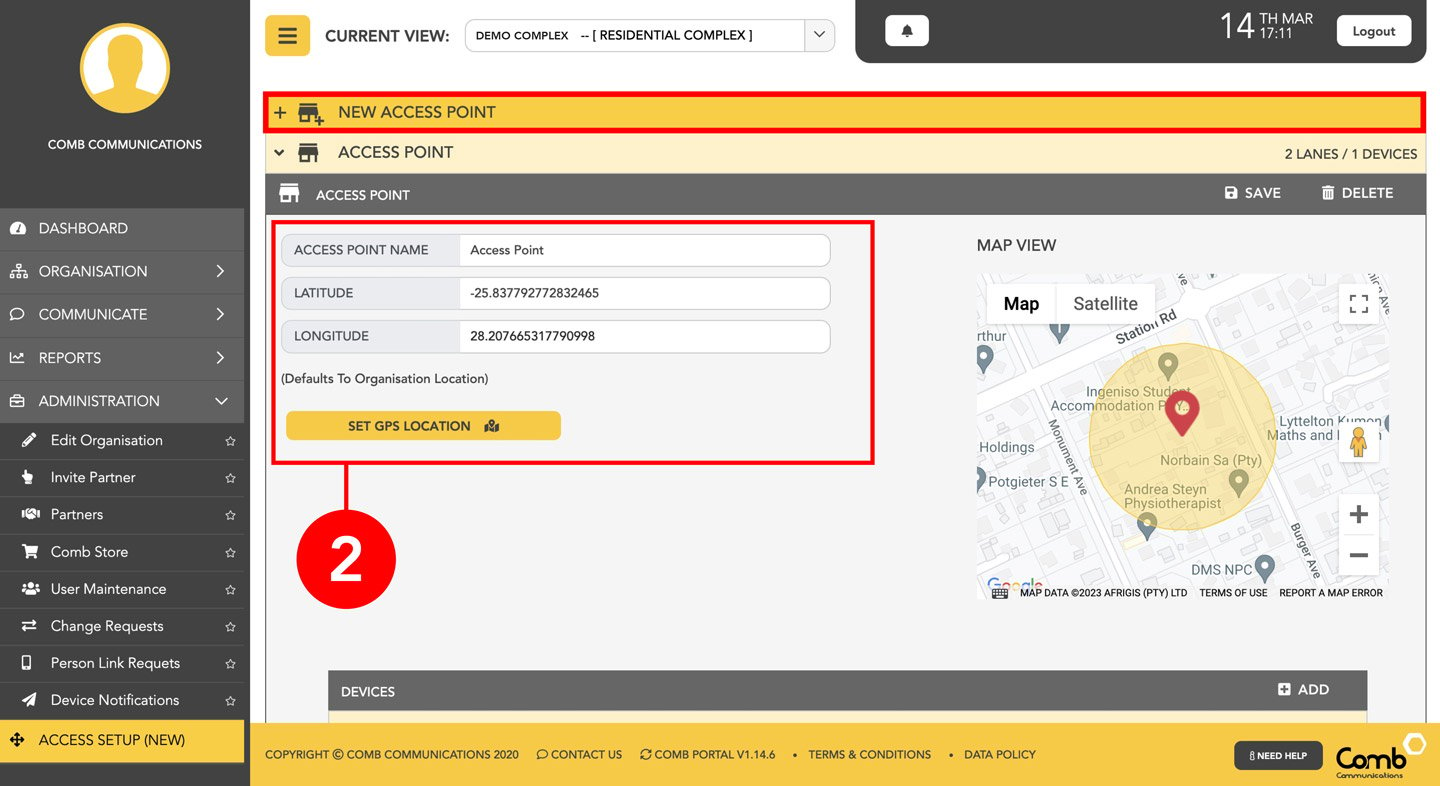
Add a new Access Point and enter the Access Point name and location followed by clicking “save”. Alternatively open an existing Access Point. |
|
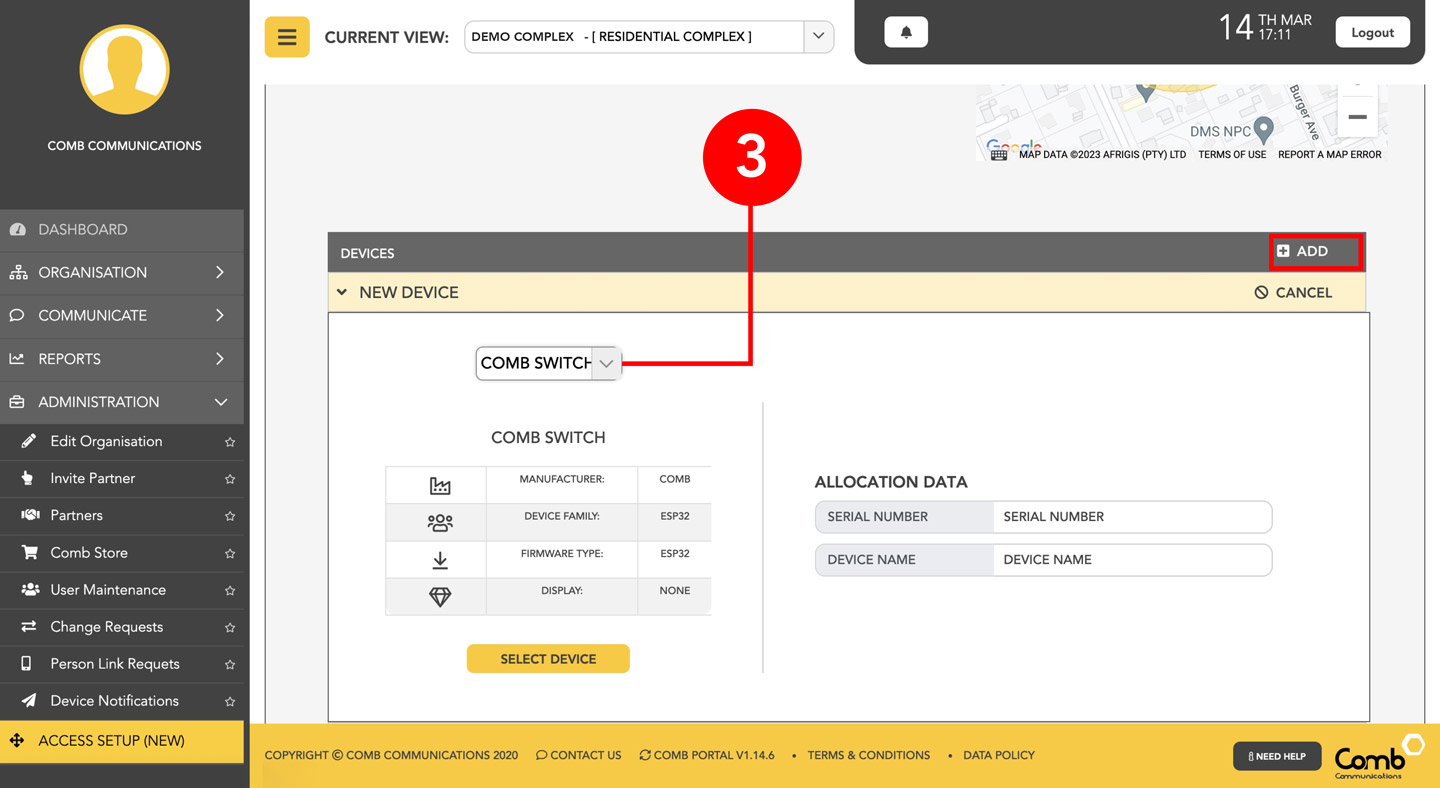
Add a device by clicking “ADD” and selecting the Comb Switch from the drop-down box. Enter the serial number, device name and click “save”. |
|
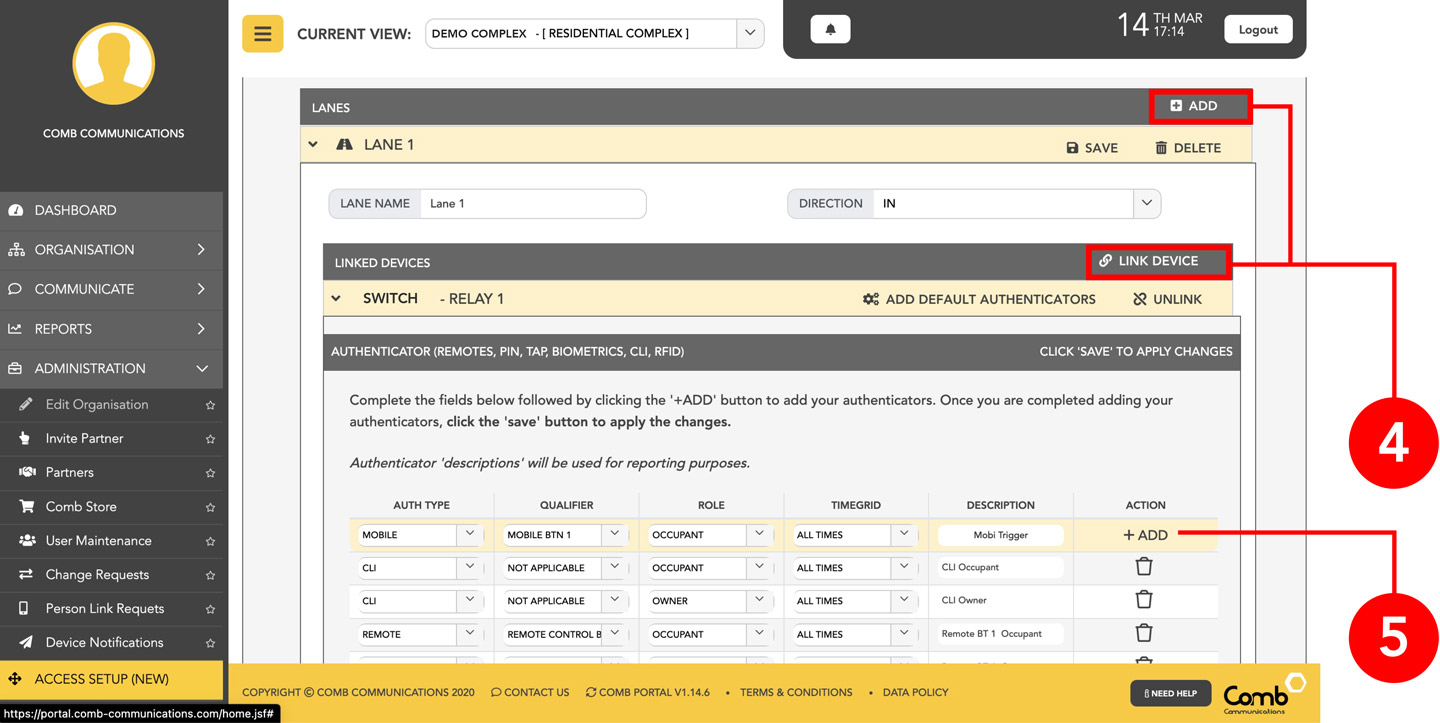
Add a new lane or open an existing lane and link the Comb Switch device to that lane. |

|
Add a Mobi trigger for the required relay. |
MyComb Mobile App Configuration
|
Download the MyComb application from Play store or the Apple store. |
|
Create an account. |
|
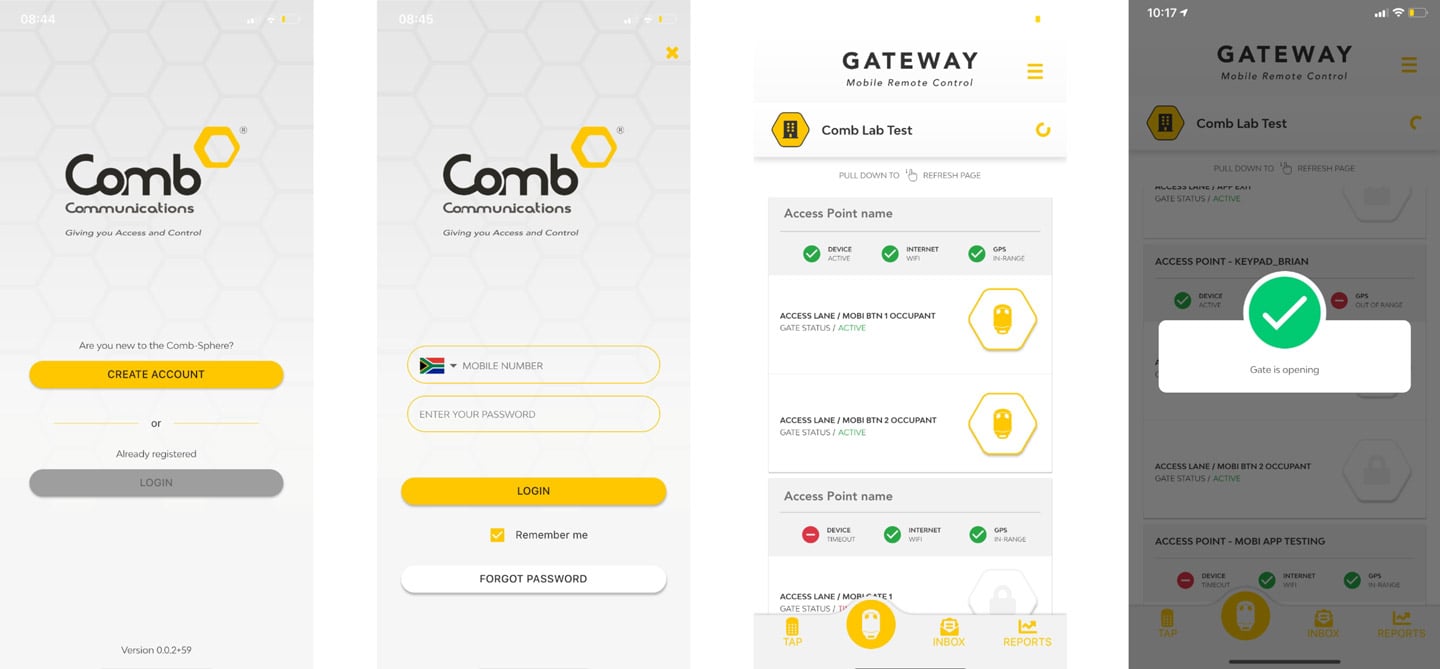
Login in to the MyComb application (Your organisation should be autodetected). |
|
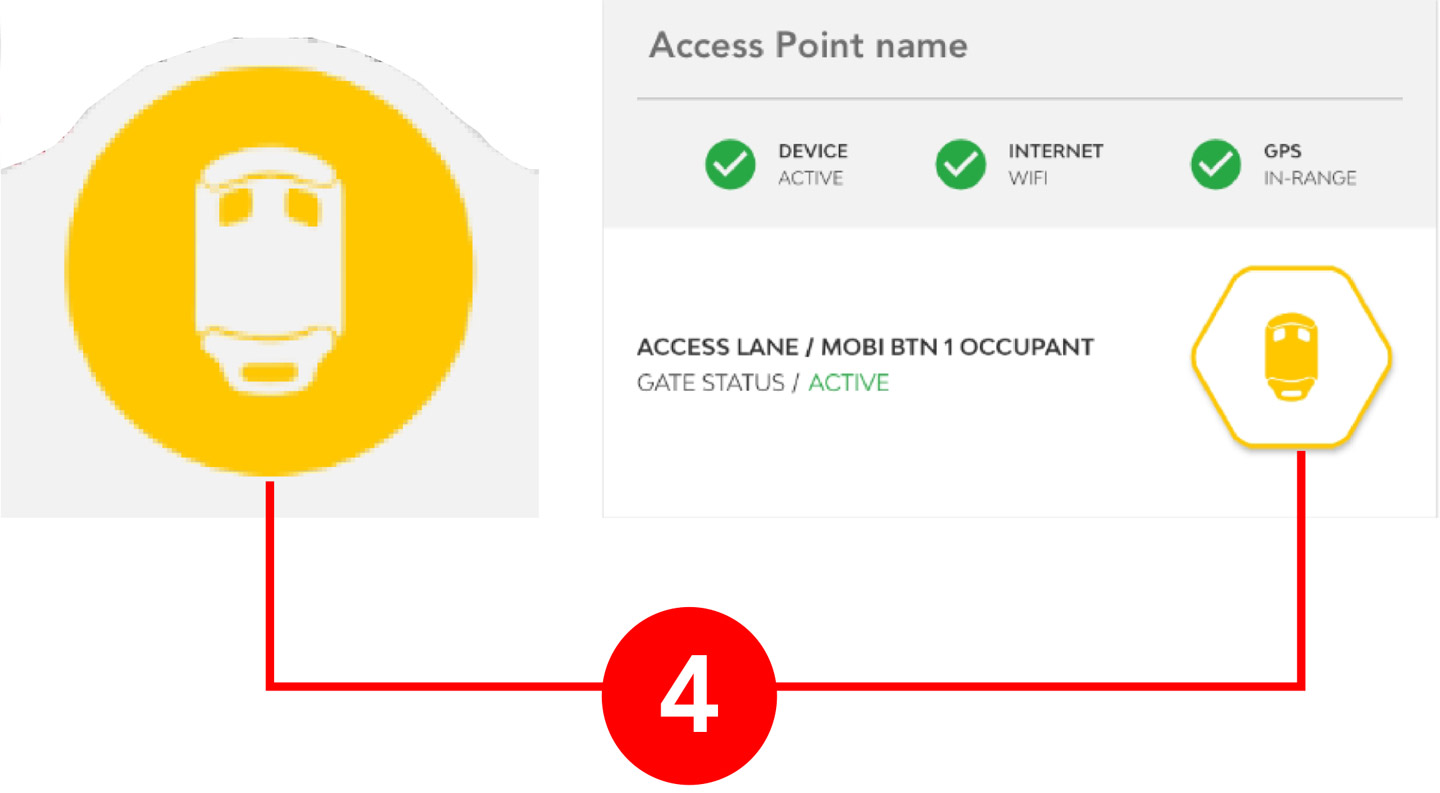
To open the gate select the Gateway tab at the bottom and press the remote button for the Comb Switch device (When in radius of the device). |
|
To generate TAP-TAP codes, simply switch the TAP-TAP tab at the bottom and click TAP-TAP button associated to the Comb Switch access point. |


